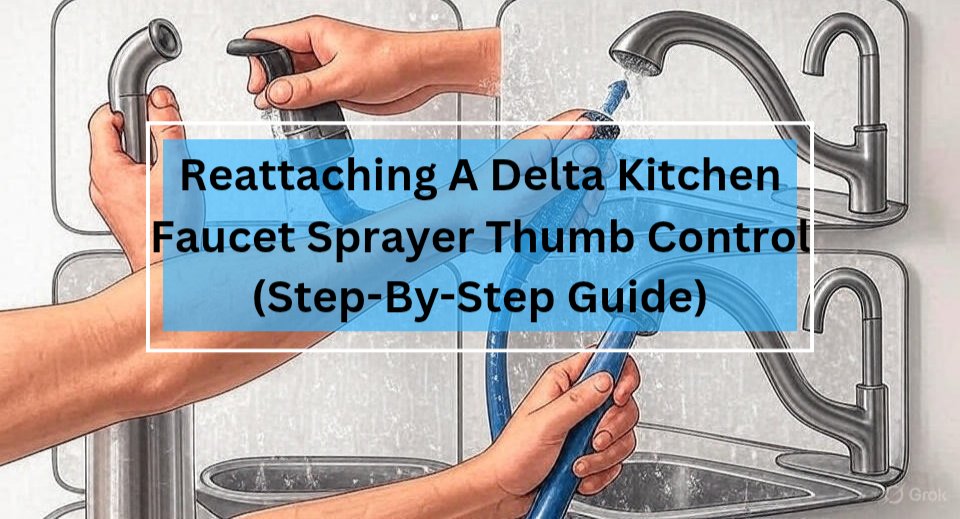
Reattaching a Delta kitchen faucet sprayer thumb control can fix the sloppiness and also change the appearance. If you’ve ever been in the middle of rinsing dishes and suddenly your Delta kitchen faucet sprayer thumb control pops loose, you’ve been in the same situation as me.
The good news? You don’t need a plumber to reattach a Delta kitchen faucet sprayer thumb control. With a few easy steps, you can detach the faucet sprayer, then reattach the thumb control to make it functional again.
Why Delta Kitchen Faucet Sprayers Loosen or Break
Delta faucets are popular for their durability, but the sprayer’s thumb control is one part that gets a lot of daily stress. Over time:
- The clip or connection inside may loosen.
- The O-ring or washer may wear out.
- Regular pulling, twisting, and water pressure can cause it to pop out.
Luckily, you can fix it all by yourself.
Tools and Materials You’ll Need for Reattaching a Delta Kitchen Faucet Sprayer Thumb Control
Before starting, gather these items to make the repair smooth:
- Adjustable wrench or pliers
- Replacement O-rings or washers (specific to Delta sprayers)
- Plumber’s tape (Teflon tape)
- Small flathead screwdriver
- Towels or a bucket (to catch water drips)
Step-by-Step: How to Reattach a Delta Kitchen Faucet Sprayer Thumb Control
Step 1: Turn Off the Water Supply
Always start safe. Shut off the water valves under your sink. Turn on the faucet briefly to release any leftover pressure.
Step 2: Detach the Sprayer Hose
Unscrew the sprayer head from the hose using your hand or pliers (wrap the pliers with a towel to avoid scratches). Place a bucket or towel below to catch any water drips.
Step 3: Inspect the Thumb Control
Check the thumb control lever and the small clip or pin that keeps it in place. If the O-ring or washer is cracked, stretched, or missing, that’s usually why the sprayer came loose. Debris or mineral buildup can also damage the thumb control.
Step 4: Replace or Reposition the O-Ring
Slide a new O-ring or washer into place, or reposition the existing one if it’s still good. Use a dab of plumber’s grease to help it slide on smoothly.
Step 5: Reattach the Thumb Control
Carefully align the thumb control with the top of the sprayer head, making sure the notch or groove lines up with the housing. Press it firmly into place until it clicks or sits flush with no gaps.
If your Delta model uses a screw, secure it gently without over-tightening. Test the control by pressing it up and down—it should move smoothly and return to its resting position. This ensures the thumb control is properly reattached and ready for use.
Step 6: Reconnect the Sprayer Head to the Hose
Wrap plumber’s tape around the threads of the sprayer hose. Screw the sprayer head back onto the hose, tightening it snugly but not overly tight (to avoid stripping).
Step 7: Test Your Faucet
Turn the water back on. Test the sprayer by pressing the thumb control several times. If it works smoothly without leaks — congrats, you’ve fixed it!
Troubleshooting: What If the Sprayer Still isn’t Working?
Sometimes, even after reattaching your Delta sprayer thumb control, you might run into a few hiccups. Here’s how to troubleshoot the most common problems:
1. Water Leaks Around the Sprayer Head
- Cause: Worn O-ring, loose connection, or missing plumber’s tape.
- Fix: Double-check the O-ring placement, replace it if cracked, and rewrap the hose threads with plumber’s tape before reattaching.
2. Weak Water Pressure or Spray
- Cause: Mineral buildup inside the sprayer or hose.
- Fix: Unscrew the sprayer head and soak it in vinegar for 30 minutes to dissolve calcium deposits. Rinse thoroughly and reattach.
3. Thumb Control Feels Loose or Sticks
- Cause: Clip not fully locked in, or dirt/grease around the mechanism.
- Fix: Remove the thumb control again, clean the area, apply a dab of plumber’s grease, and reinsert until you hear or feel a solid “click.”
4. Hose Won’t Retract Smoothly
- Cause: Kinks in the hose or weight misplaced.
- Fix: Check under your sink to make sure the hose isn’t tangled. If your model uses a counterweight, slide it closer to the sprayer head for better retraction.
5. Sprayer Still Not Functional
- Cause: Internal parts too worn out to fix.
- Fix: At this point, it’s best to grab a Delta replacement sprayer head. They’re affordable and easy to swap — check Amazon for Delta-compatible sprayer kits that come with everything you need.
Extra Tips for a Long-Lasting Fix
- Keep O-rings handy: They’re cheap, and swapping them regularly keeps your sprayer like new.
- Avoid over-tightening: It’s tempting to crank the sprayer on, but too much pressure can damage threads.
- Upgrade if needed: If your sprayer keeps failing, it might be time to replace it with a Delta spray head replacement kit (you’ll find plenty of options on Amazon).
If you’re already fixing your faucet, you might also want to check my guide on How to Tighten Kitchen Faucet Handle and Base.
Final Words
Reattaching a Delta kitchen faucet sprayer thumb control is quite simple if you follow steps properly. With just a few tools and replacement parts, you can save yourself a plumber bill and get your sink sprayer back in action.
FAQs: Reattaching a Delta Kitchen Faucet Sprayer Thumb Control
1. Can I reattach my Delta sprayer without replacing parts?
Yes, if the O-ring and clip are still intact. If they’re worn out, a replacement is better.
2. What size O-ring fits a Delta kitchen sprayer?
Most Delta sprayers use standard O-rings, but check your faucet model or grab a Delta repair kit for guaranteed fit.
3. How do I stop leaks after reattaching the sprayer?
Use plumber’s tape on the hose threads and make sure the O-ring is seated correctly.
4. Can I use universal sprayer parts on a Delta faucet?
Sometimes, Delta-specific parts fit best and last longer.
5. How long does the repair take?
Usually less than 20 minutes if you have the right tools and parts ready.